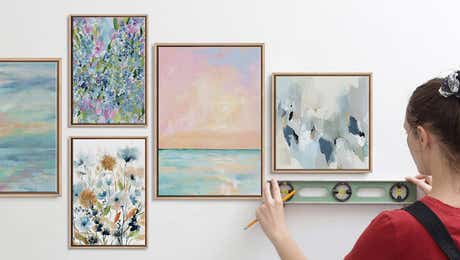
How to Hang iCanvas Wall Art
Hanging your iCanvas art is simple! Follow our step-by-step guides to securely display your canvas, paper print, acrylic art, or Steelpix. Let’s get started!
How to Hang Your Canvas Print
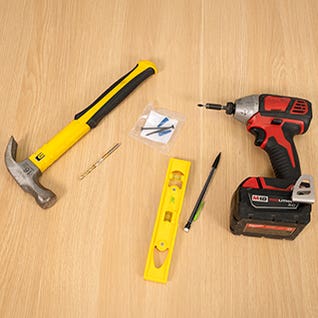
Gather your materials – wall anchors and screws (included with your art), hammer, pencil, level, and a drill with a 3/16” drill bit
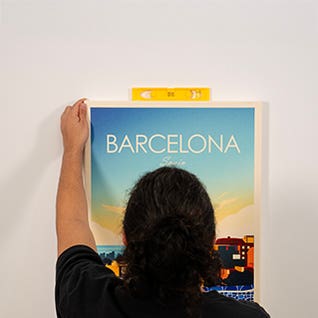
Hold the canvas against the wall and place the level on top to ensure it’s straight
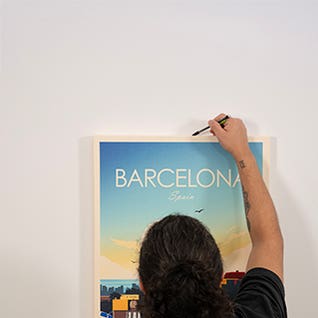
Lightly mark a line with a pencil across the top of the canvas
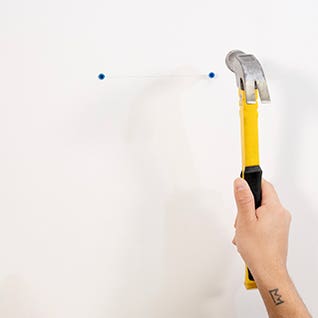
Drill small holes where the anchors will go, then hammer the wall anchors flush with the wall
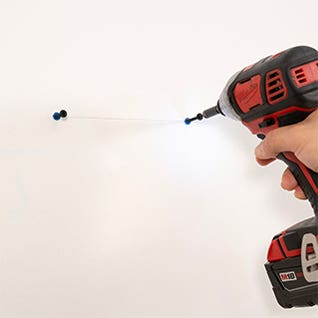
Drill screws into the anchors, leaving about 1 inch of the screws protruding

Gently hang your canvas on the screws, step back to confirm it’s level, and enjoy your art!
How to Hang Your Framed Paper Print
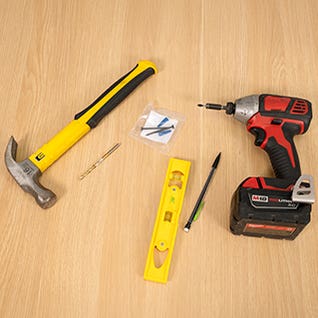
Gather your materials – wall anchors and screws (included with your art), hammer, pencil, level, and a drill with a 3/16” drill bit
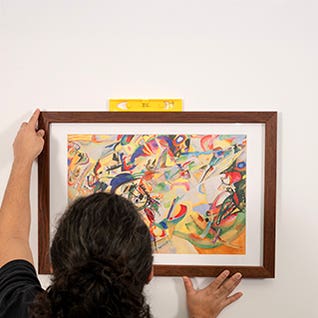
Hold the framed art against the wall and place the level on top to ensure it’s straight
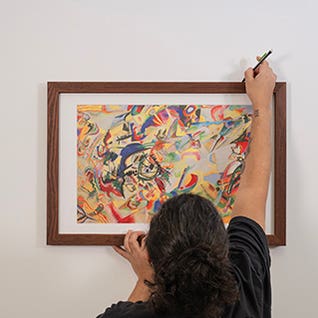
Lightly mark a line with a pencil across the top of the frame
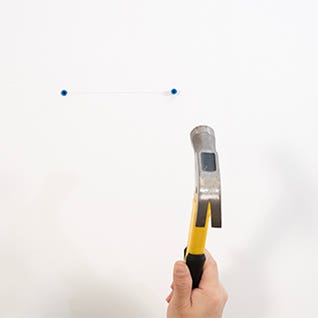
Drill small holes where the anchors will go, then hammer the wall anchors flush with the wall
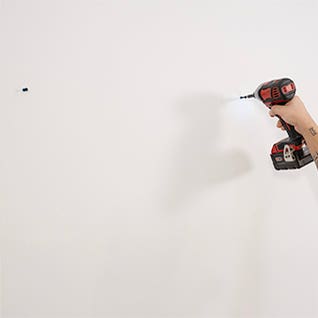
Drill screws into the anchors, leaving about ¼ inch of the screws protruding
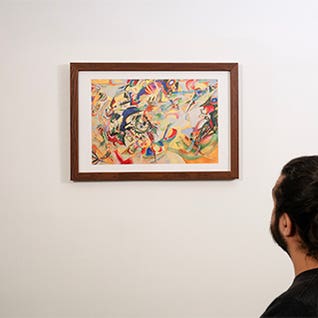
Hang your framed print on the screws, step back to check if it’s straight, and enjoy your art!
How to Hang Your Acrylic Art
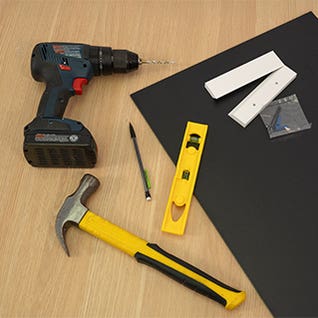
Gather your materials – cleat, wall anchors, screws (included with your art), pencil, drill, hammer, and level
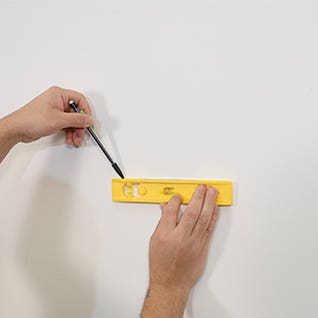
Use the level to mark a straight line on the wall where you want to hang your art
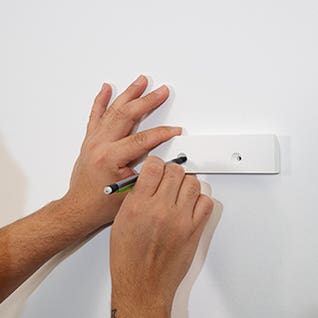
Hold the loose cleat against the marked line and mark the two hole locations on the wall with a pencil
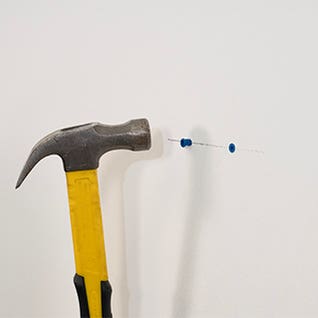
Drill into the marked holes, then hammer the anchors into the wall until flush
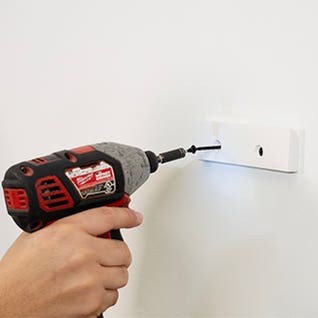
Align the loose cleat with the wall anchors and drill screws through the cleat into the wall anchors
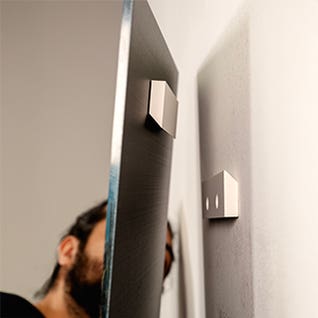
Peel off the protective film from your art, then slide it down onto the mounted cleat to interlock them; enjoy!
How to Hang Your Steelpix
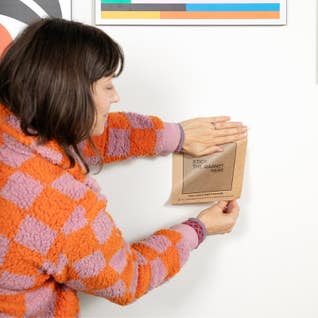
Peel the paper backing and place onto the wall; be sure to smooth the paper down fully, avoiding bubbles or ripples
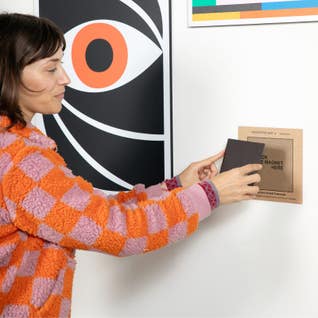
Peel the protective backing from the magnet and align it with the paper template
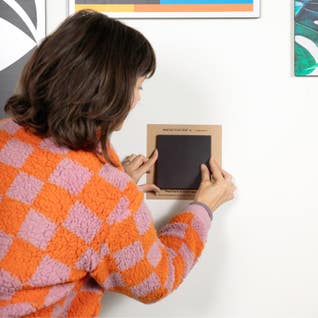
Stick the magnet onto the paper, pressing down firmly (hold down for at least 10 seconds)

Remove the protective film from your Steelpix and snap it onto the magnet

Sit back, relax, and take in the view of your stunning new art!
How to Hang Your Gallery Poster
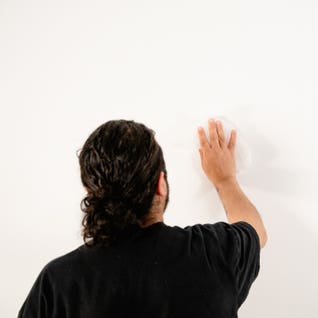
Wipe the area with rubbing alcohol to remove dust and debris. Let it dry completely
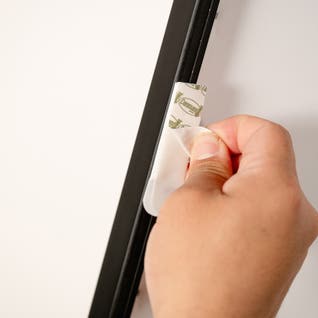
Carefully remove the backing from the 3M adhesive strips on the back of the frame
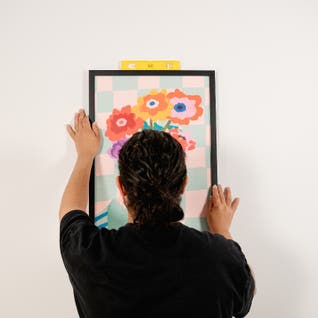
Hold the frame up to the wall and align it to your desired spot; double-check the height and level before committing
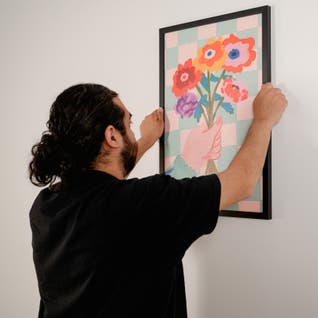
Press the frame firmly against the wall and hold for 30 seconds to make sure the adhesive sets
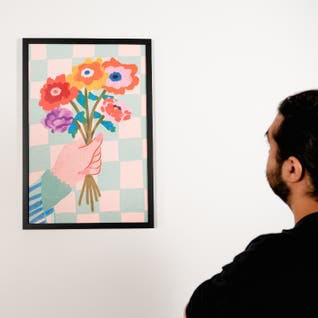
Step back and enjoy your new art - no tools, no damage, no stress!
The iCanvas Difference

We bring you a diverse mix of world class artists, handpicked for their exceptional talent and ability to inspire across every medium.
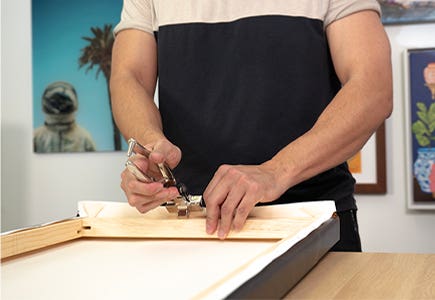
Our beautiful, long-lasting art combines expert craftsmanship with high-quality materials, ensuring each piece is as durable as it is visually striking.
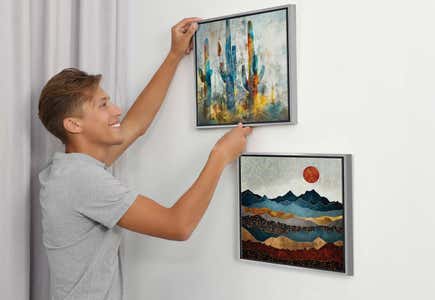
Whether it’s the vibrant colors or durable materials, our commitment ensures that your art will look stunning for years to come - guaranteed.